The easiest way on how to add Contact Form in WordPress page, post and blog in 2025. Speed is very important for a successful website. That is why as a web content creator, I try to avoid installing WordPress plugins as much as possible to avoid clutter, maintenance updates, and a slow loading website.
It’s easy to add Contact Forms inside WordPress using different plugins. But you can also avoid installing a plugin if you already have Jetpack installed on your site.
Recently, I was trying to add a Contact Form in a WordPress page to add a specific messaging page (Contact Us) for the website’s clients. Surprisingly, Jetpack has added that functionality already through the new WordPress Gutenberg blocks.
What is a Contact Form?
Contact Form is a form used by websites and online businesses to reach potential clients and customers. Through this form, people can send inquiries, messages, and feedback to the website or business owner. It’s usually displayed on the Contact Us section of a website where prospective clients usually visit.
How to Add Contact Form in WordPress Page in 2025:
- Install Jetpack plugin
- Add a New Post or Page
- Choose a Block
- Select Form
- Provide the email address where you want to be contacted
- Enter the subject line
- Add the Form
- Design your Contact Form
- Hit Publish
1. Install Jetpack plugin
More often, Jetpack plugin is already installed on your WordPress website because of the SEO features and it offers to every web content. Jetpack gives numerous helpful functionalities to grow a website’s traffic, to maintain a secured website and to keep the website loading fast.
2. Add a New Post or Page
Web creators can add a simple Contact Form in a WordPress post and page. Similarly, adding contact info via the widgets, is also easy to do.
3. Choose a Block
Since the launch of Gutenberg, WordPress is built using blocks. Just add any block you want to a specific section, and you’re all set to put anything.
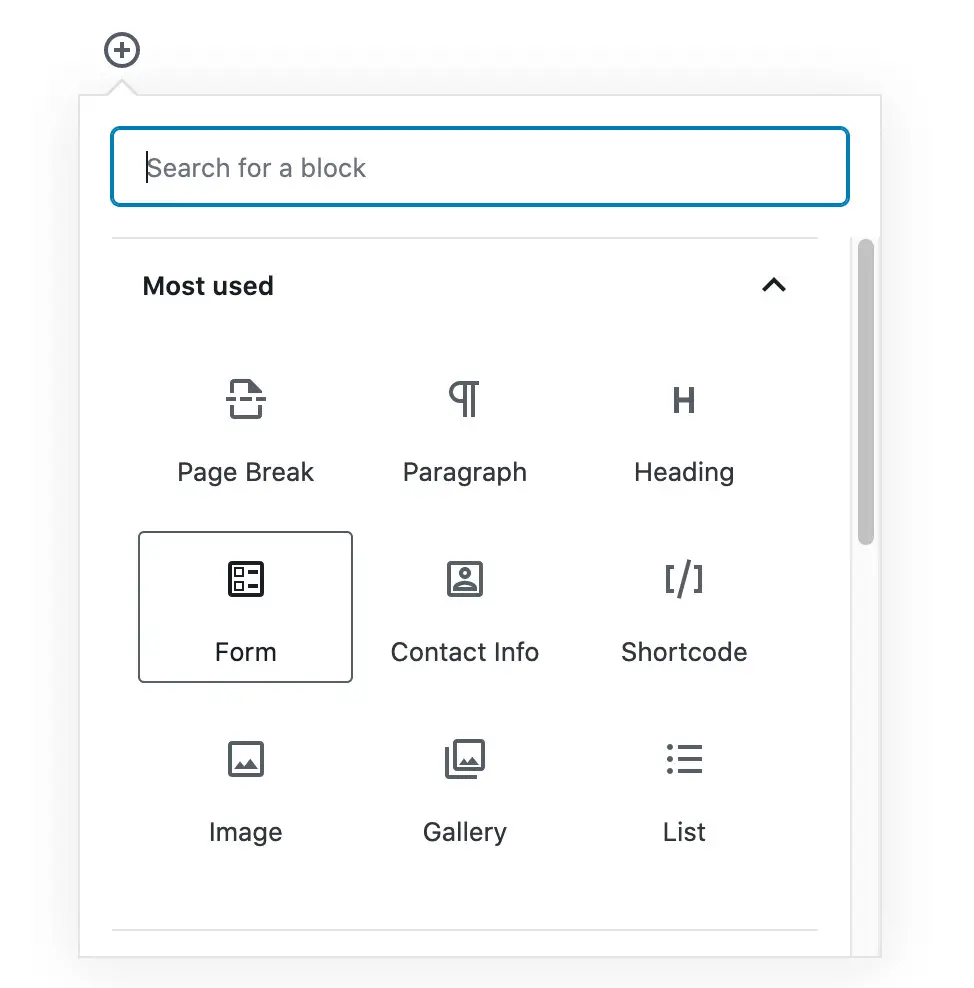
4. Select Form
Choose Form to add a Contact Form widget. You will receive notification straight on your inbox every time someone fills out the form. All you need to do is follow the next steps.
5. Provide the email address where you want to be contacted
You can enter multiple email addresses separated by commas. All messages from the people who filled out the form will be sent to those email addresses. So be precise.
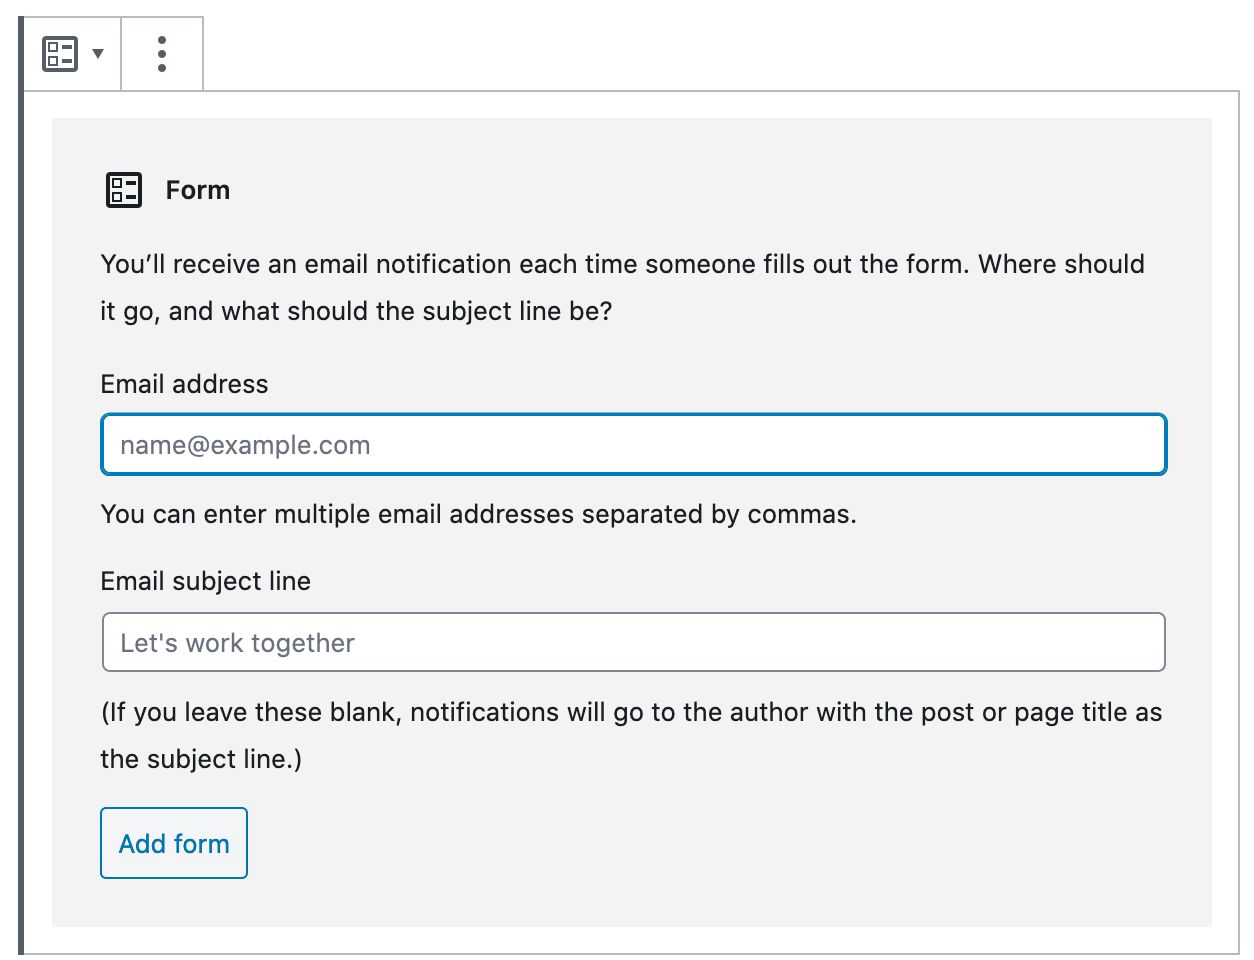
6. Enter the subject line
Example shown, “Let’s work together” if the Contact Form is displayed on a job hiring page. You can put a specific subject that corresponds to your page or website.
7. Add the Form
The exact look and design of the Contact Form will now appear.
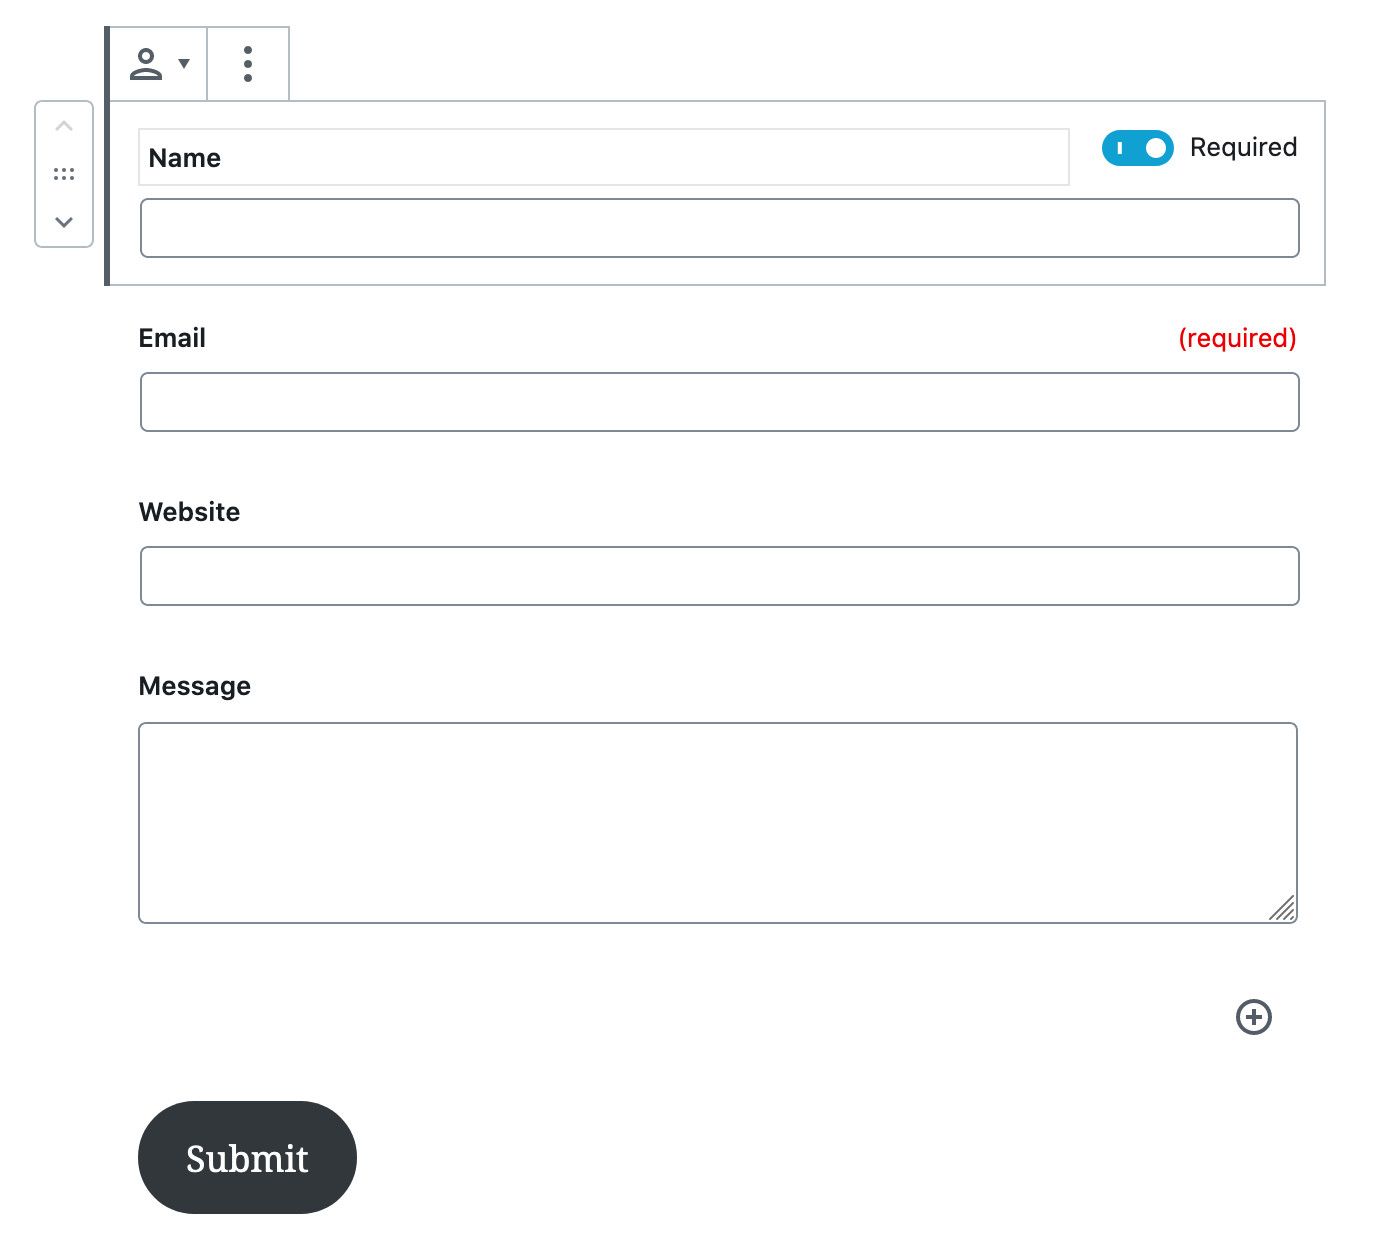
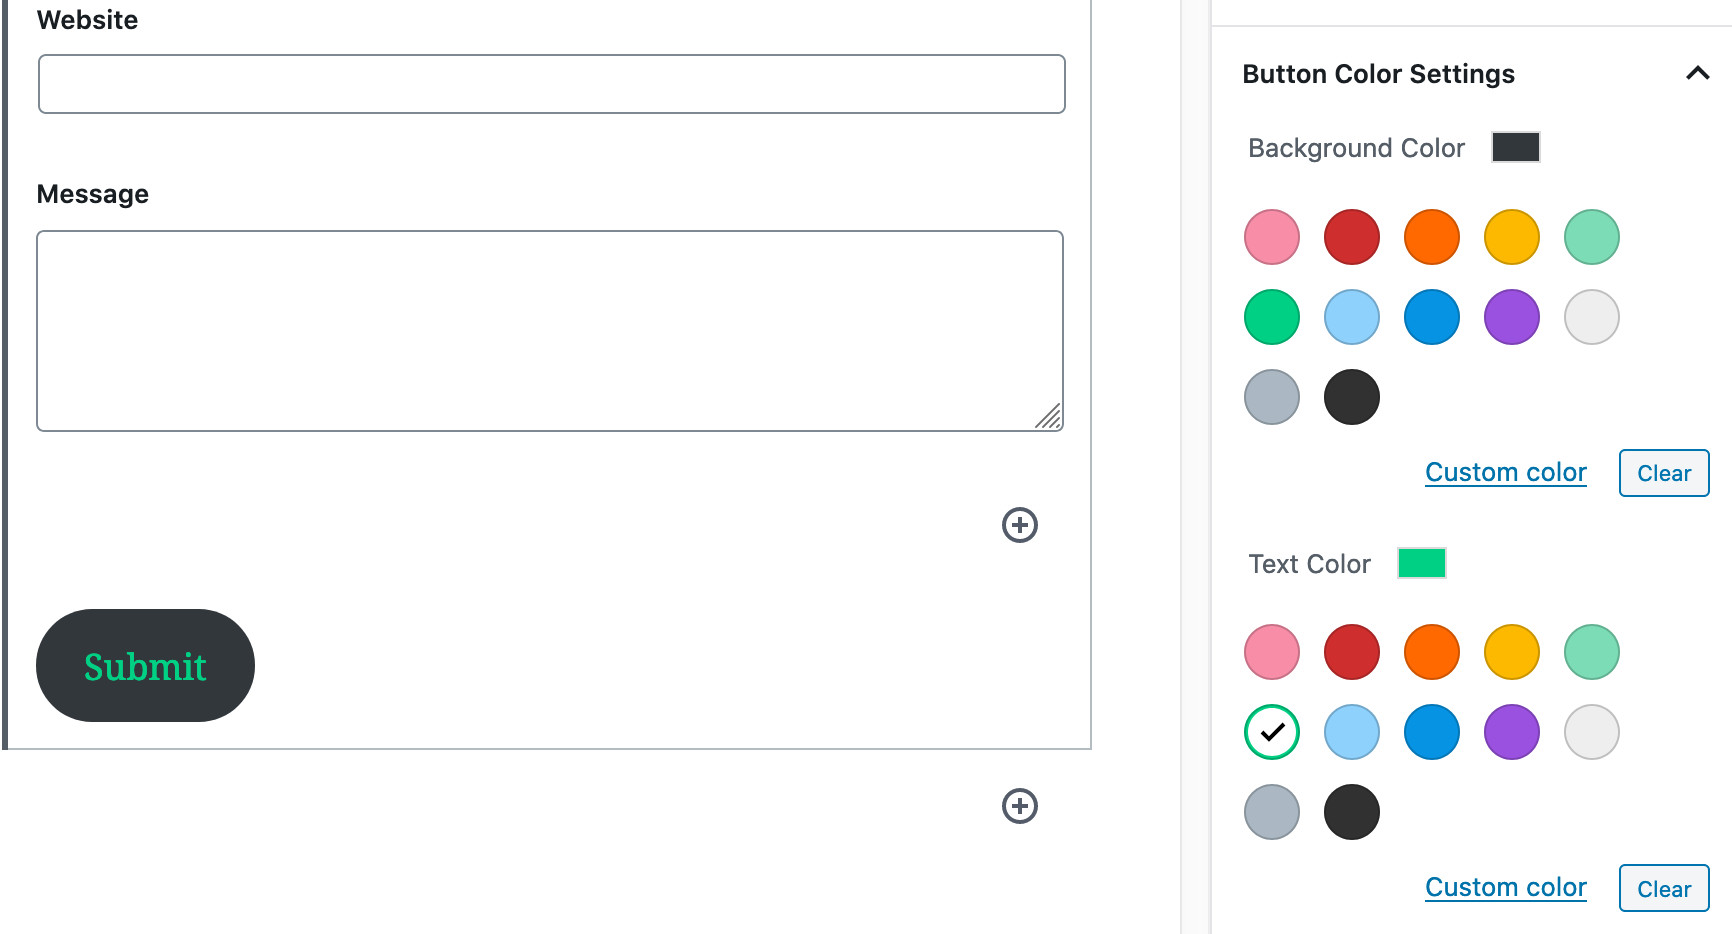
8. Design your Contact Form
You can tweak the design by changing the color of the button and set the required parameters. The final look of the form is up to your preference.
9. Hit Publish
Once you’re happy with everything, preview your page or post and hit the publish button. You now have a simple and neat Contact Us page.
I hope our tips helped you successfully. You may test your Contact Form by leaving a message and sending it to your email.
Benefits of Using a Contact Form
User-friendly
Contact Form is very user-friendly and easy to use. It usually requires the sender’s email address, the subject of the message, and the main message. The simplicity of it is not too overwhelming for any client to contact you.
Reduces spam
Contact Form reduces spam and unwanted emails. Your email address is not revealed on the internet thus it protects you and your business for any possible spamming. It also secures your account from any breach.
Effective communication
It connects your business to your visitors and prospective clients. New opportunities may arrive from just simple messages and inquiries. People who are interested to do business with your website or your company can contact you easily.
Other Online Tips:
How to Transfer Domain Name from Hostgator to Godaddy